
The claim
I found a claim on Quora that Ubuntu is slow compared to RHEL. I never thought about it. Is it really? It seemed like a sentimental statement with nothing to prove it. I questioned the claim and found out, that many people tried to support the claim still without providing any kind proof.
Instead of continuing to asks any evidence, I decided to dig the evidence my self.
Is there any difference in the performance between the two? I don’t really know, but if you think about default server install with nothing extra, I doubt there could be any significant performance difference.
Ubuntu 20.04 has currently kernel 5.4 where as RHEL 8.5 has 5.13. Libraries and software are pretty much the same. File system by default is XFS on both. I always enable LVM although that could affect performance – certainly not by improving it, but there are other advantages. I don’t think LVM reduces performance much either and as said I always set it up anyway.
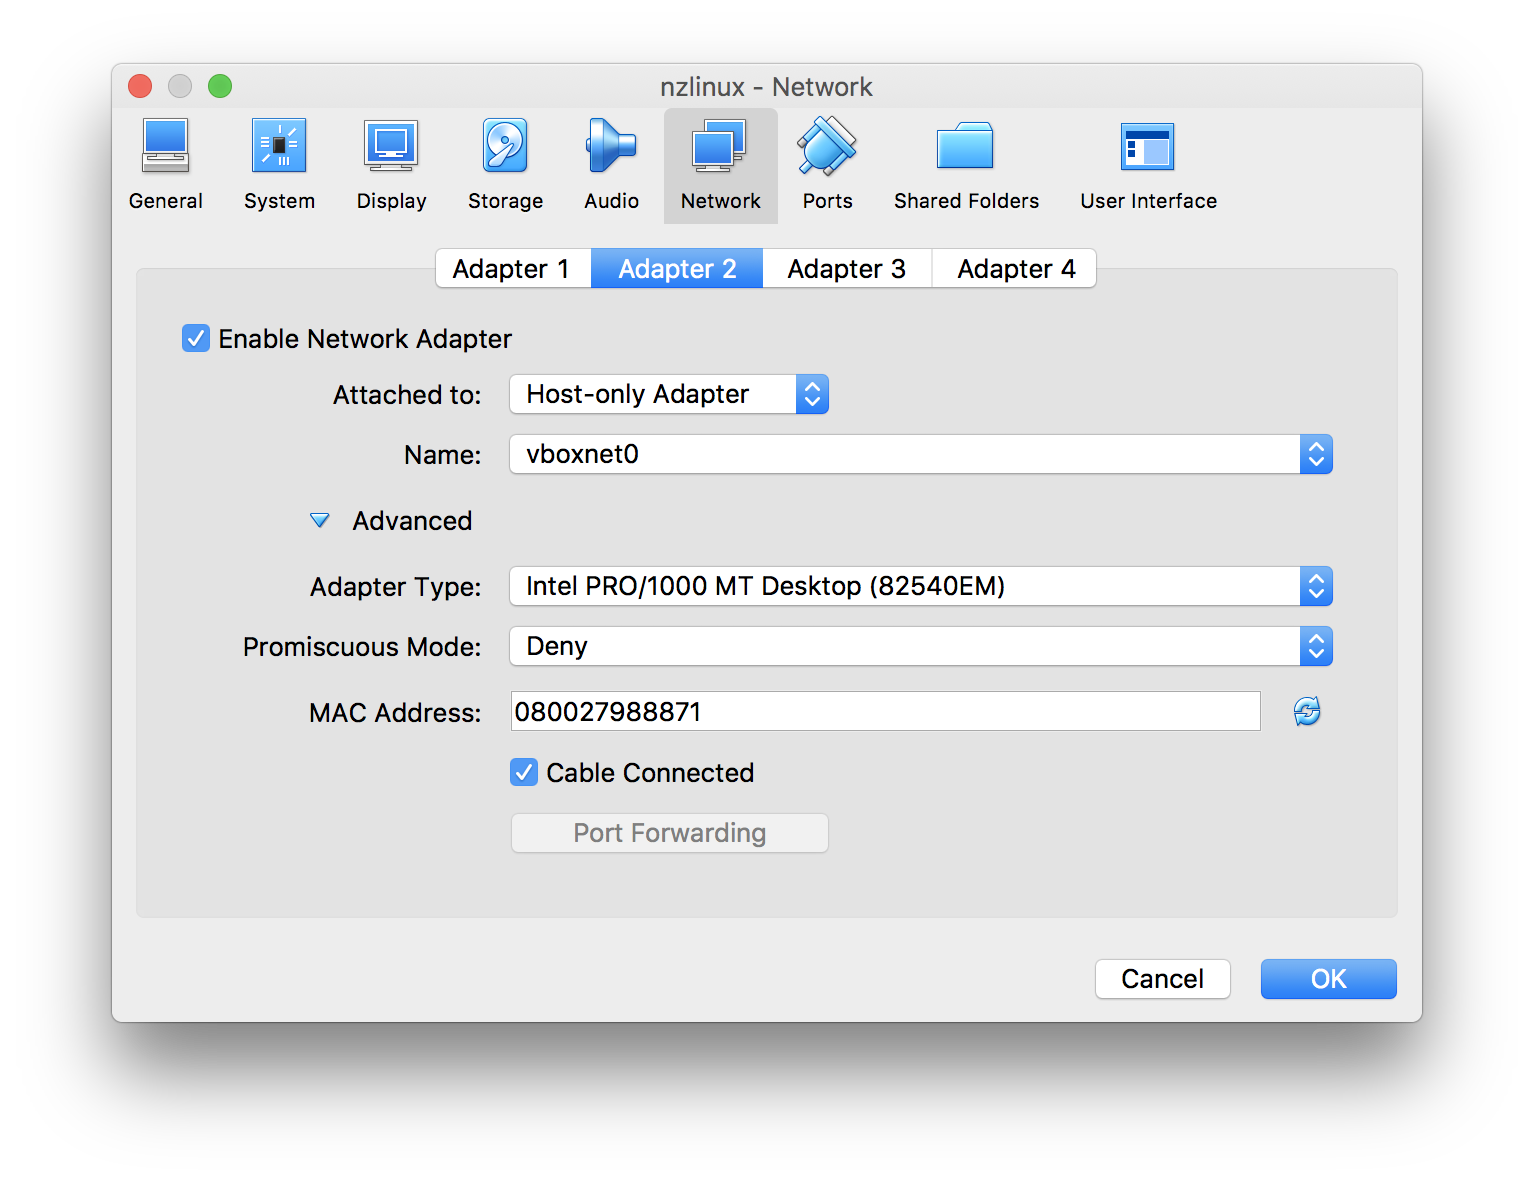
In this case I have two virtual machines both having 4GiB RAM and two 3.3GHz CPU cores running on qemu/kvm. The host OS is, yes you guessed right, Ubuntu 20.04 , because on desktop it has certain software I need. And, it works well as virtual host too. That does not affect the results anyhow, since the guest OS has no idea of host OS.
I haven’t tuned either of the guests OS at all except for one thing. I set tuned profile to virtual-guest for both, which makes sense. It is the recommended profile when I run tuned-adm recommend on both of the guests machines.
Put the HammerDB down
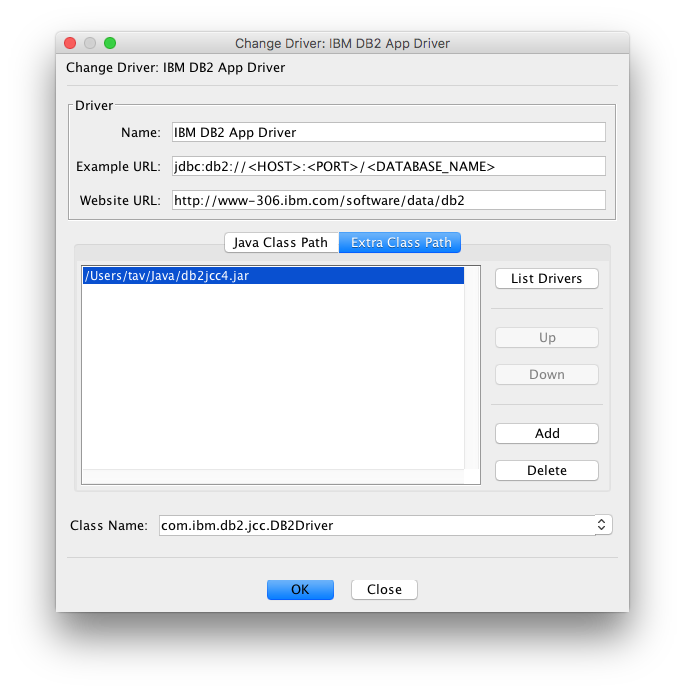
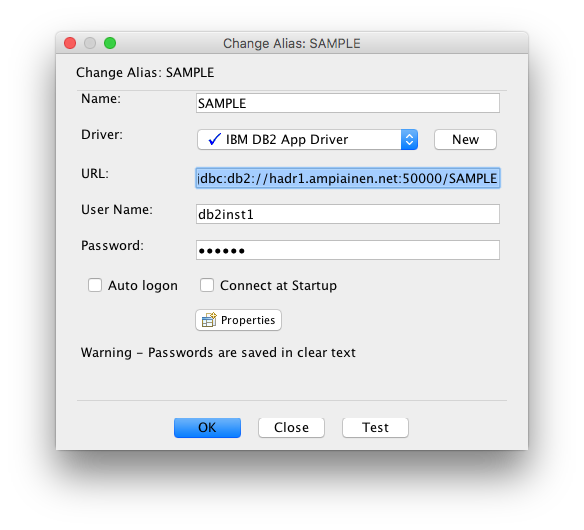
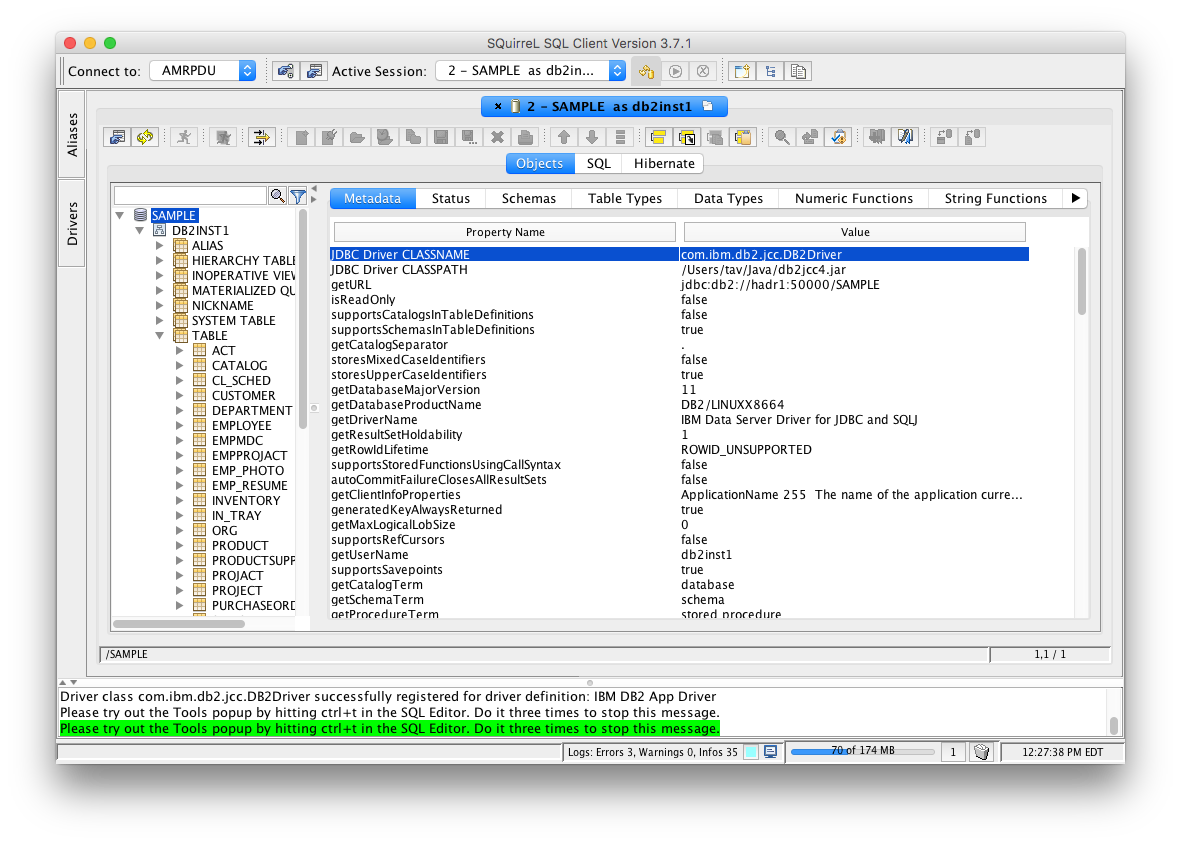
Last I ran HammerDB I had to settle with text based version, but this time it had a nice working GUI. But even before quick HammerDB installation, I downloaded Db2 11.5.7 Community Edition. Installed it on both Ubuntu and RHEL. I created SAMPLE database with db2sampl and took timing for that: no difference really. I knew it. Ok that doesn’t prove anything.
But, the real test does. HammerDB.
Ubuntu 20.04
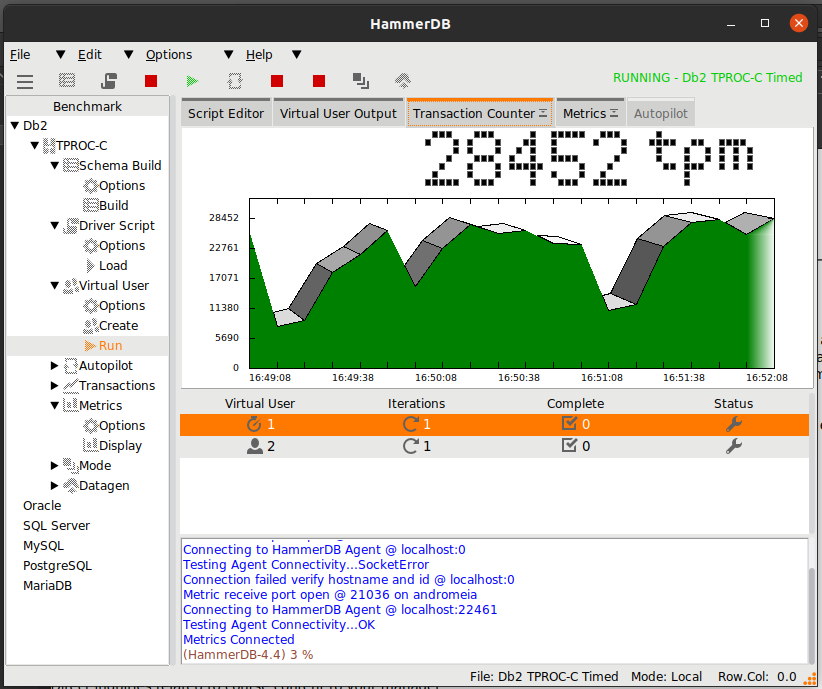
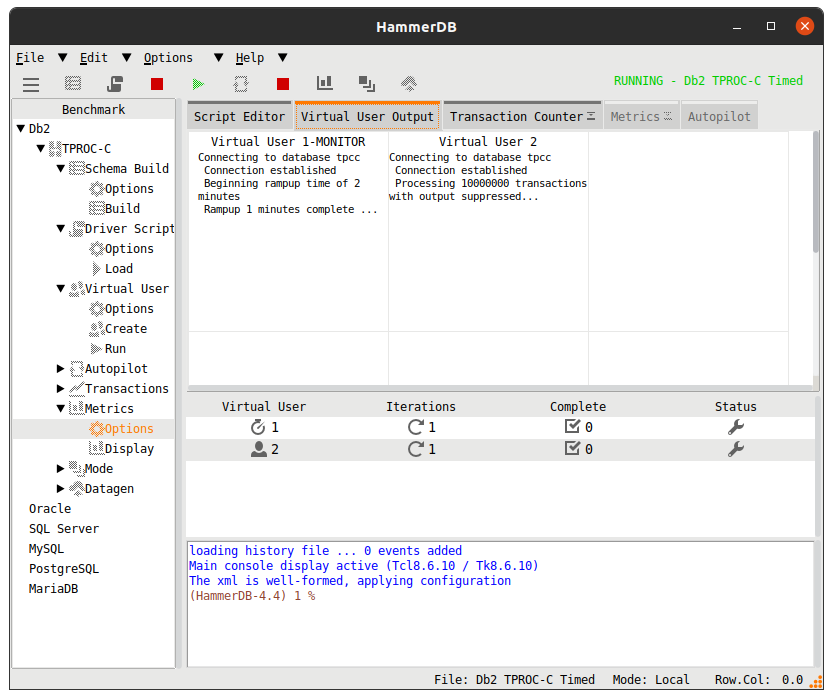
Let’s start with Ubuntu. I read a tutorial on how to run time based benchmark with HammerDB. I want to do this fast. One virtual user only. Looks good.
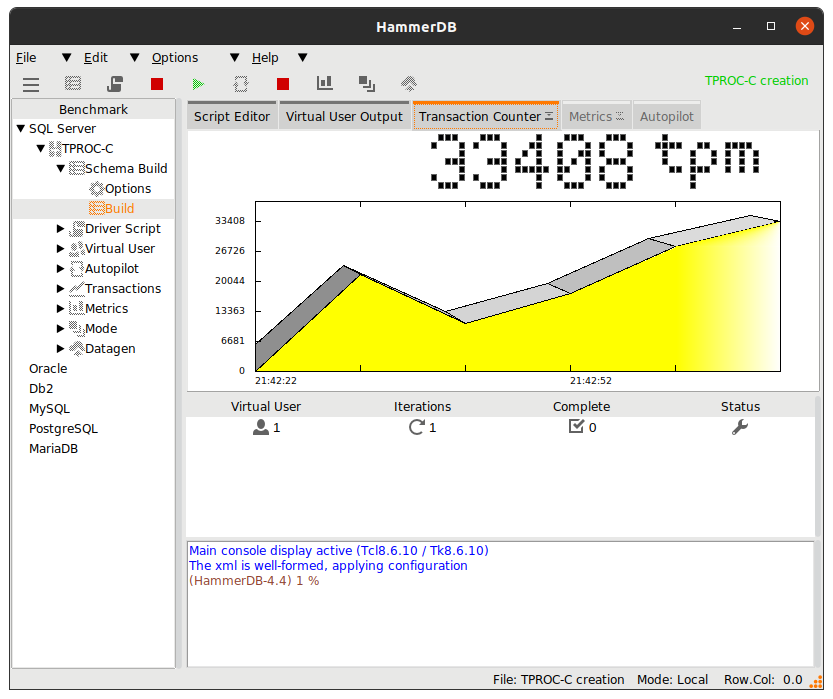
The process goes:
- Choose Engine and configure it (Db2)
- Build schema
- Configure and load driver
- Configure virtual user
- Create virtual user(s)
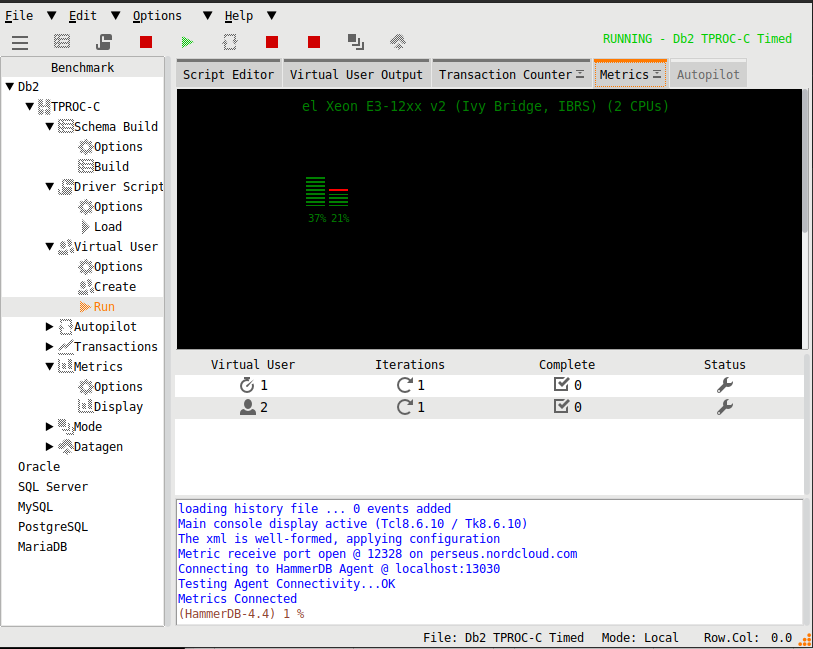
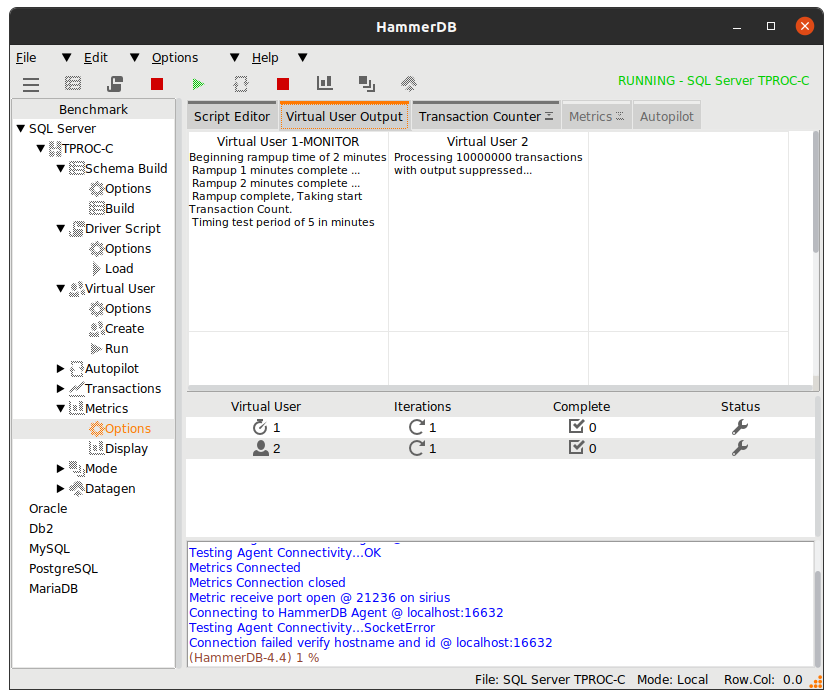
- Run virtual users
- Monitor and wait
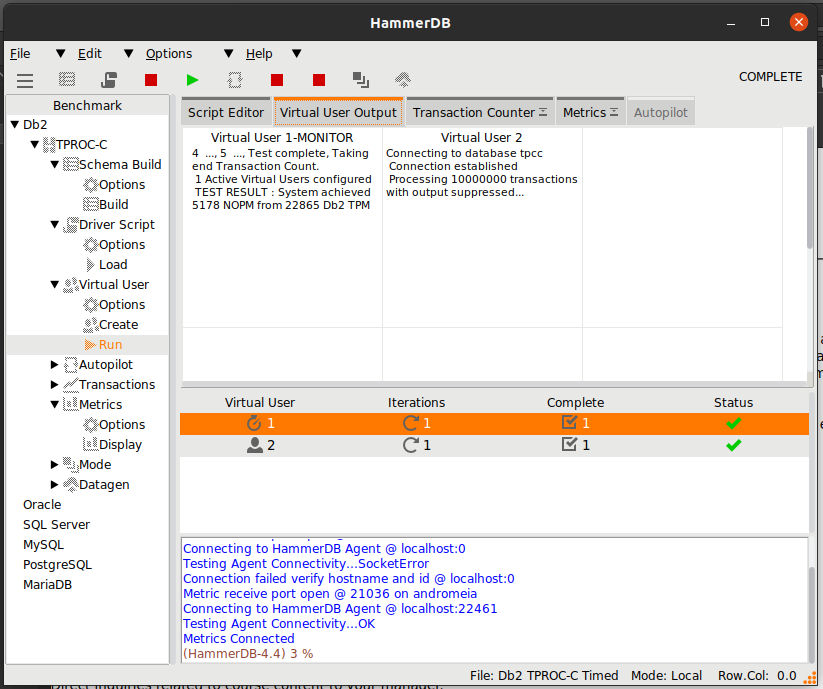
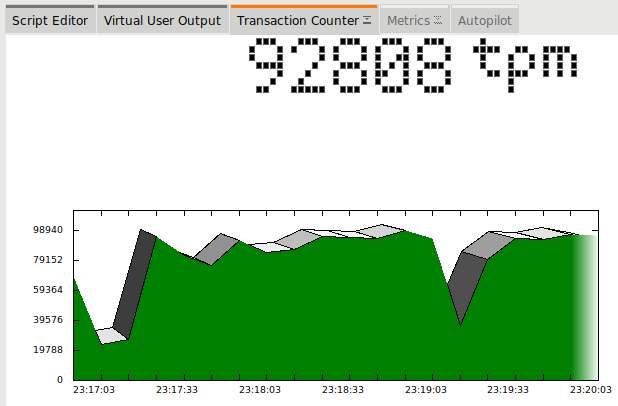
The results for Ubuntu 20.04
System achieved 5178 NPM from 22865 Db2 TPM
RHEL 8.5
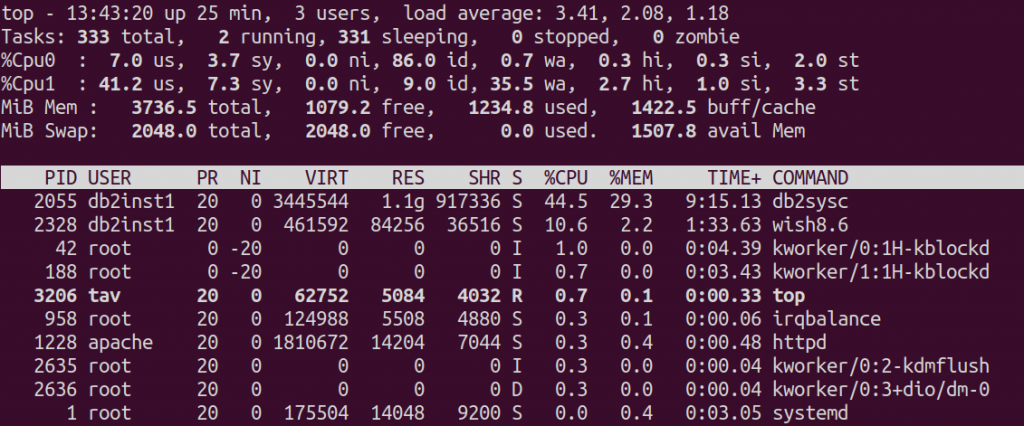
Then same thing for RHEL. The machine crashes twice. Reminds me of kernel parameters. We have only 4GiB, so might be I need to tune them. But no, it run all good the third time. In my previous job though, servers with low memory running Db2 on RHEL crashed always without tuning the kernel parameters. There’s a simple formula based on RAM to calculate correct values for Db2 here. That said, I did not change anything from defaults for Ubuntu nor RHEL. It wouldn’t be fair comparison, if I started to tune the kernel parameters for one and not to the other.
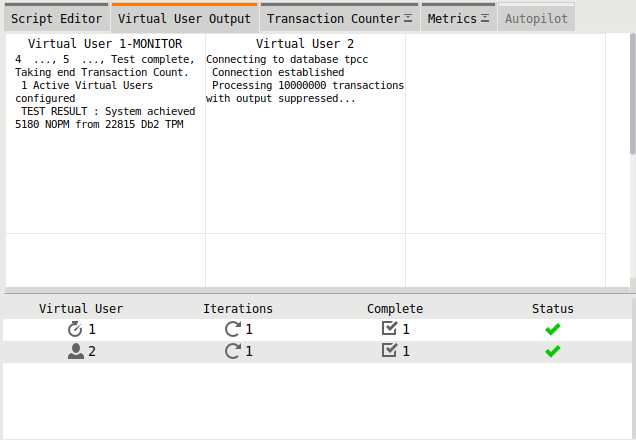
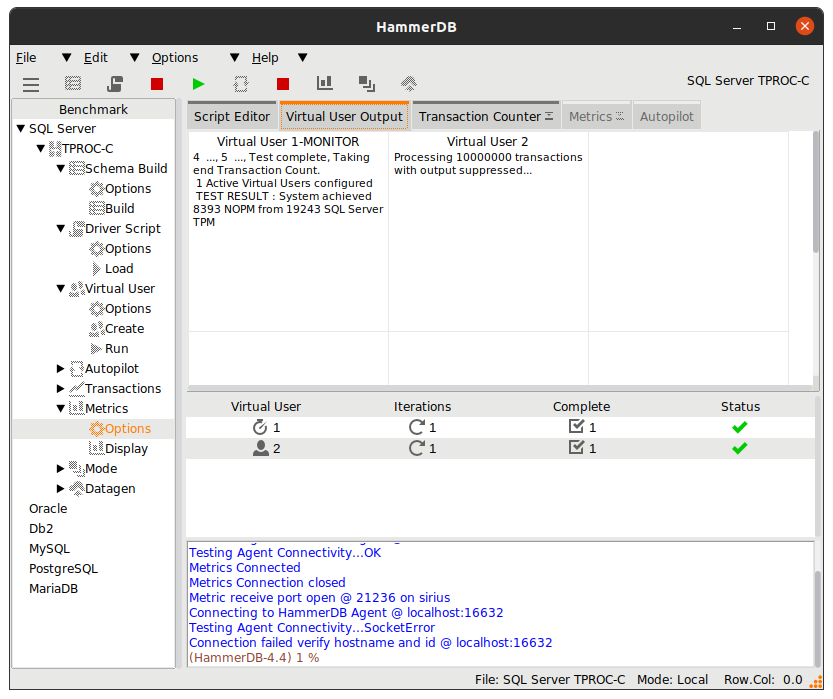
The results for RHEL 8.5
System achieved 5180 NOPM from 22815 Db2 Db2 TPM
First conclusion
There is really no difference between Ubuntu and RHEL what comes to achieved performance results. The two new orders per minute makes 0.04% difference which I’m pretty sure no one can notice just by “using the server a bit”.
Comparison between database engines
Since I already started playing with HammerDB, why not try some more tests. I have earlier installed Db2 on the host machine itself as well as MS SQL Server. I also have virtual machine running Oracle Linux 8 on it with the same 4GiB RAM and two CPU core setup. MySQL and PostgreSQL I have running on the host itself.
The hosts OS, as said, is running Ubuntu Desktop 20.04. It has 4 x 3.3GHz cores and 32GiB RAM and fast NVMe 500GiB M.2 PCIe SSD. This is small form factor machine suitable for industrial use as a headless server running for example Linux. Or you can use it as desktop computer as well. My idea for it was to use it as a platform for several virtual guests, but I wanted to see how it works as a Linux desktop computer as well.
Let’s do few quick tests on the host itself for various database engines. More of a test of HammerDB itself than real comparison between the engines.
Db2
TEST RESULT Ubuntu 20.04 Desktop: System Achieved 6651 NOPM from 2928 TPM.
I’m a bit surprised it didn’t achieve more. Need to test more. It takes time for bufferpools to warm up with automatic memory tuning and with 32GiB memory I’m pretty sure we could get much better results.
MS SQL Server
But let’s check with MS SQL Server I have running on the same machine. Certainly Db2 beat MS SQL Server, right?
The winner is… oh no, MS SQL Server
Oracle
I have one Oracle 21c Server running on VM running Oracle Linux 8. Oh but Oracle – I’m so lost with it. HammerDB asks too much questions and it seems I need to create another pluggable database. I will do that – later.
PostgeSQL and MySQL
Out of curiosity I ran the test for PostgreSQL and MYSQL:
PostgreSQL: TEST RESULT: 11607 NOPM from 26880 PostgeSQL TPM
MySQL: TEST RESULT: 1739 NOPM from 5252 MySQL TPM
I have no idea why the difference between above two is that significant. Might be for various reasons. I wouldn’t pay much attention on the difference since running the test on host OS and not on virtual machines with proper setup doesn’t make much sense – unlike the more serious comparison I did for Ubuntu Server and RHEL.
Final Conclusion
Without official test for Oracle we cannot make any other conclusion than Oracle is the slowest from these three DB Engines: Db2, MS SQL Server and Oracle. I’m kidding of course; I’m no Oracle expert and just too slow myself to set a proper test for Oracle. That might change once I have enough time to dig deeper on Oracle. For MySQL and PostgreSQL the test was also too quick; more of a test do they work similarly in comparison to Db2 and MS SQL what comes to HammerDB.
What comes to the original claim about Ubuntu being overall slow and which surprisingly many is willing to believe, I think I have busted the claim.
We can speculate how about real server environments and please do, but before you actually have any benchmarks to show otherwise, I take it proven that Ubuntu and RHEL are equally slow or fast.
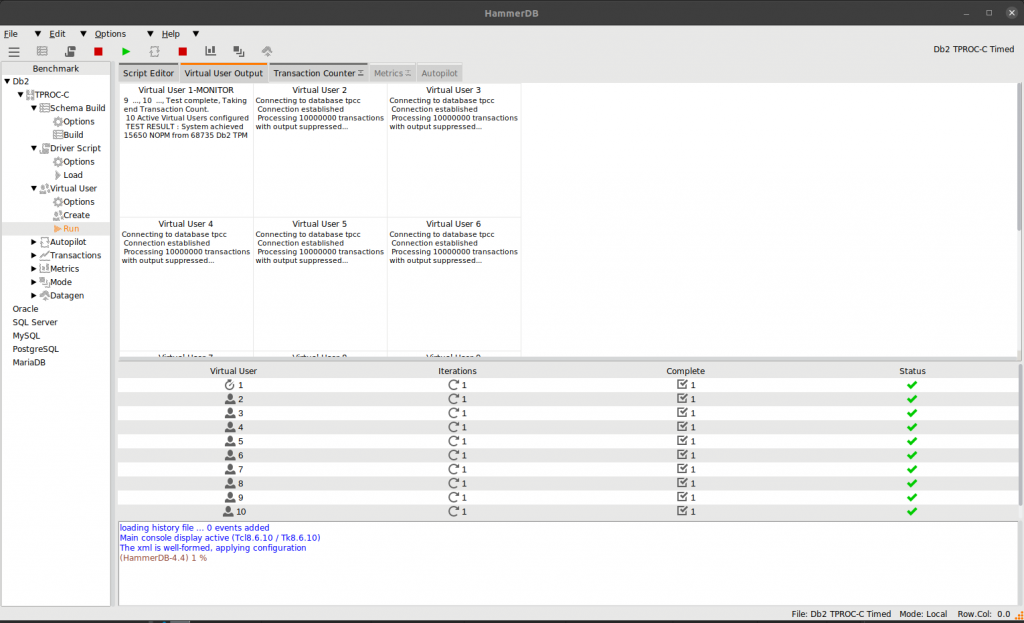
Also, what comes to MS SQL Server performance compared to Db2, obviously this was not the last word. Let’s try with 10 virtual users beating Db2 for a bit longer.
Final results for Db2 running on this tiny Asus Mini PC PN41 were:
TEST RESULT: System achieved 15650 NOPM from 68735 Db2 TPM.
So we have a winner: Db2 11.5.7?
In a sense Db2 won that it did get the highest number of new orders per minute yes. But in comparing with other database engines I didn’t really organise any meaningful tests between them this time.
Want to test yourself?
Prove me wrong. Run your own tests and provide me your data and conclusions. I have serious doubt Ubuntu Server and RHEL differs much what comes to performance. There certainly is plenty of other things which makes the difference when choosing the distribution. Things like support, cost, platform you are running on and so on. Red Hat certainly has it’s advantages on enterprise level support whereas Ubuntu started strong on desktop, but it is easy to deploy for example on Azure and fully supported.
 |  |  |


